
The appeal of handcrafted lighting is unmistakable. The intricate detailing, thoughtful design, and unique beauty of a wooden lamp adds an earthy elegance to any space. It's no wonder more people are exploring the realm of DIY wooden lamp designs. Whether you're an experienced woodworker or a beginner looking for a rewarding new hobby, this in-depth guide is here to illuminate the process.
Setting the Stage: Essential Tools and Materials
Before diving into the world of wooden lamp making, it's essential to gather all necessary tools and materials. Tasked with creating a functional, yet artistically appealing piece can be daunting. But, with a well-equipped workspace and understanding of foundational tools, you're already halfway there.
Discover the importance of hand vs. power tools in woodworking. Understand and consider how each can affect accuracy, speed, and the final product. Power tools can save time and effort for large-scale projects, while the precision that hand tools offer is unrivalled, particularly in small, detailed work. Selecting tools that align with your skill level and project goals can significantly enhance progress and satisfaction.
Moving onto materials, wooden piece selection is pivotal in defining the lamp’s look and feel. Surveying different types of hardwoods and softwoods can provide you with the essential knowledge about their properties and suited project uses, setting you ahead in the design process.
The Guiding Light: Designing Your Wooden Lamp
Once your tools and materials are prepared, the real fun begins: design. Just like sketching out a blueprint before bringing houses to life, your wooden lamp requires meticulous planning and profound creativity. Putting thoughts onto paper before making the first cut aids in visualizing the project's outcome and avoiding potential errors.
Sketching techniques in woodworking is an art in itself. Advance your crafting process, explore your imagination, and create a streamlined procedure for your project with these sketching techniques for woodworking. These methods sharpen your precision and aid in focusing on each detail that contributes to the masterpiece that will be your wooden lamp.
A crucial aspect of lamp design is considering the proportion of your piece. Whether it's the size of the lamp base in relation to the shade, or the height of the lamp compared to the furniture it'll be placed on, achieving aesthetic balance is essential. Using the woodworking golden ratio can guide you in these design decisions, leading to a finished product that's as functional as it is beautiful.
Into the Woods: Crafting Your Masterpiece
With your design in place, it's time to bring it to life. Crafting a wooden lamp is a journey, from choosing sustainable or reclaimed wood, to selecting the perfect finish to protect and enhance its beauty. Understand why each step is vital and learn tips and techniques that can simplify the process for you.
During the process, understand that measurement errors and struggles with wood movement and finishing are common obstacles that beginners face. But don’t let that deter you. Learn from these common woodworking mistakes to stay ahead of the game and ensure a smooth crafting process.
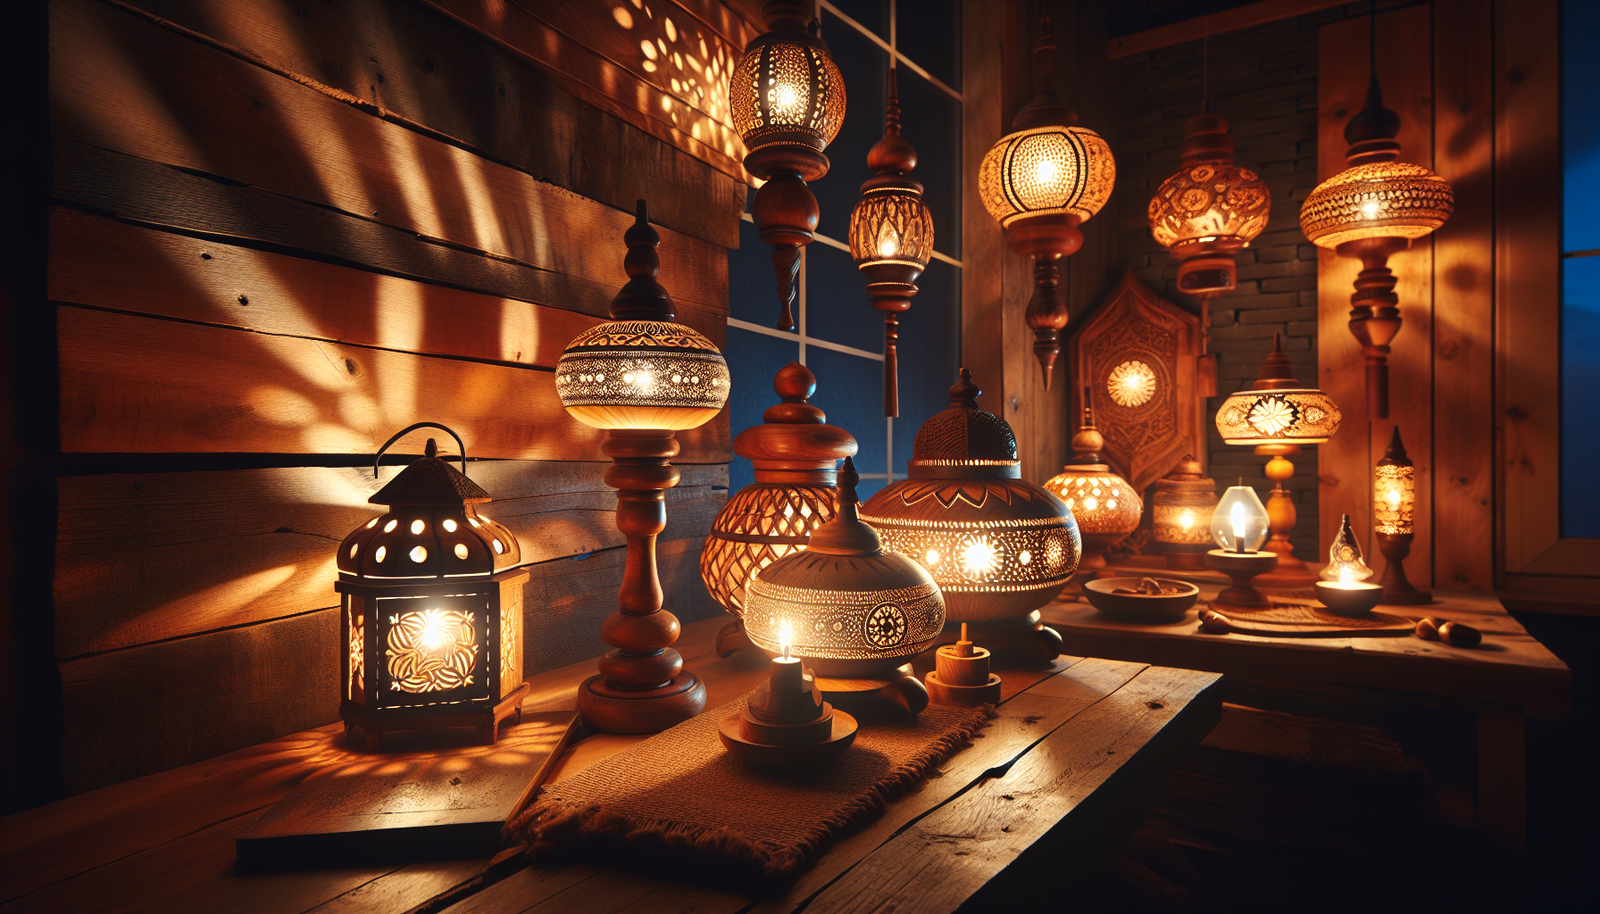
Popular Wooden Lamp Styles
Wooden lamps span a wide range of aesthetics. Live-edge table lamps showcase the natural contour of a slab. Turned lamps, shaped on a lathe, offer elegant symmetrical profiles. Geometric and Scandinavian-inspired lamps use clean facets and joinery as decoration, while industrial designs pair wood with metal conduit and exposed bulbs. Choosing a style first makes every later decision easier.
Electrical Safety and Components
Lamp making mixes woodworking with basic wiring, and the wiring must be done correctly. Use a UL-listed lamp kit that includes a socket, cord, plug, and switch, and run the cord through a smooth internal channel so it is never pinched. Drill a generous central bore before shaping the lamp, add a strain relief, and if you are at all unsure, have an electrician verify your work. Never compromise on electrical safety.
Drilling the Cord Channel
The trickiest step is boring a long, centered hole for the cord. A lathe with a hollow tailstock, an extra-long auger bit, or building the lamp from segments with a pre-routed channel all solve this. Plan the channel before glue-up; retrofitting one into a finished lamp is far harder.
Finishing a Lamp Base
Because a lamp is handled and sits close to a heat source, choose a durable finish. A wipe-on polyurethane or hardwax oil resists fingerprints and minor heat. Keep the finish away from the socket and bulb area, and always use a bulb wattage appropriate to the shade and materials.
Frequently Asked Questions
Is it safe to make your own wooden lamp?
Yes, when you use a UL-listed lamp wiring kit, route the cord through a smooth channel with strain relief, and keep wiring away from heat. If you are unsure about any wiring step, have an electrician check it.
How do you drill the cord hole through a lamp base?
Use a lathe with a hollow tailstock, an extra-long auger bit, or build the base from segments with a pre-routed channel. Always plan the channel before final glue-up.
Want the complete plans and step-by-step training?
Get instant access to thousands of detailed woodworking projects.
Join The Training