
 In the silent graveyards of discarded furniture, beautifully designed tables and chairs waste away while intriguing antiques rest in forgotten corners. All of them deserve another chance at life. In this guide, we aim to demonstrate the beauty and charm embedded in restoring such neglected pieces, ushering them toward embracing a new era of existence.
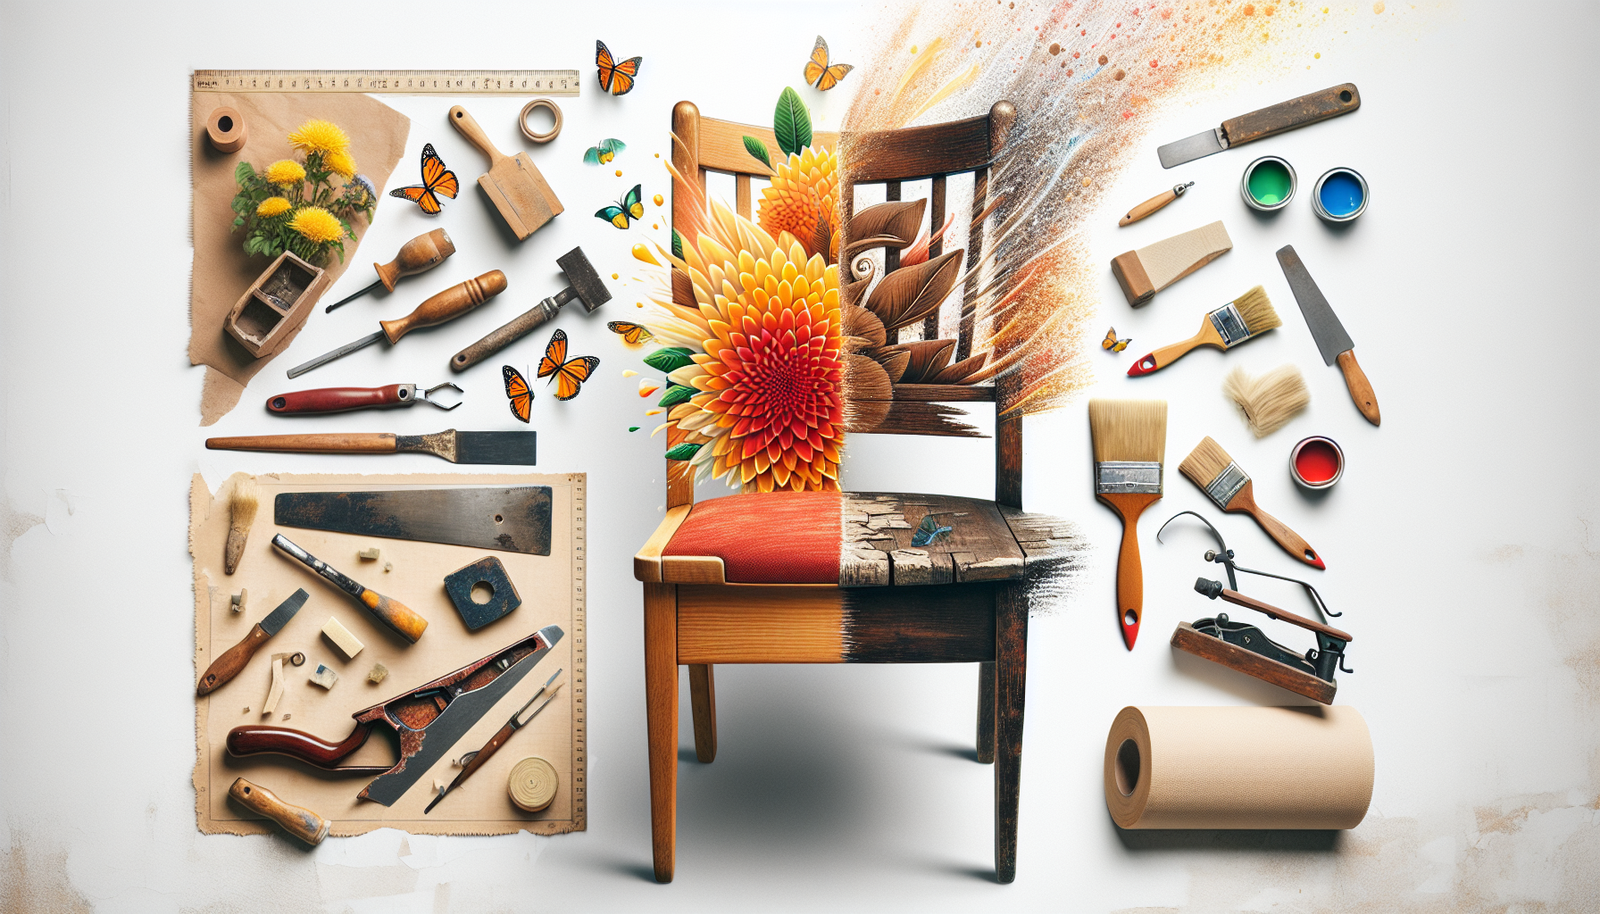
Immerse in the Rustic Charm: Prepping for the Transformation
Before embarking on your journey to revival, it's imperative to remember that each piece has its own unique essence. As you examine the potential candidate for rescue, envision its past life. The worn patches, scratched surfaces, and faded corners—every imperfection narrates part of its tale. The goal here isn't just to repair but also to allow these old friends to wear their history with pride. Begin the process by checking the piece for any loose joints. If necessary, disassemble the parts for easier access to crevices and hidden areas. Remember, while you're working with old furniture, adopting modern rustic woodworking techniques can become essential to make the project simpler and more efficient.Exploring the Green Woodworking Path: Towards a Sustainable Approach
Restoring furniture isn't just about indulging in nostalgia—it's about contributing to our environment. By finding new uses for old pieces, we're reducing our demand for new furniture and curbing deforestation. This is why it's essential to use green woodworking techniques in your restoration endeavor wherever possible. One school of thought in green woodworking emphasizes the importance of sheer handiwork and focusing on using hand tools rather than power tools. This approach can make the process more meditative, engendering a sense of peaceful progress throughout the project.Discovering the Right 'Glue': Letting Your Furniture Pieces Stick Together
Right after assessing the piece for needed repairs, your next step is to focus on providing solidity to these areas. Depending upon the condition of the furniture, you'll need the right kind of wood glue. From PVA to Epoxy, choose the one that suits your needs. Make sure to remove any old adhesive before applying the new glue thoroughly.Choosing the Right Shade: Refurbishing Antique Furniture Pieces
Once your furniture piece is sturdy and ready for painting, make sure to choose the color that enhances its charm. Given the antique nature of the pieces you're working on, it's best to stick with neutrals, pastels, or a whitewashed finish, enhancing the rustic appeal and detailing of your piece. Carefully sand the furniture piece before applying the desired paint. Once the piece is dry, finish with a protective layer of clear wax to seal the paint and give a professional, polished look.Restoration Euphoria: Uncovering the Therapeutic Benefits
The act of reviving old furniture can be more than a utilitarian endeavor; it can also serve as a meaningful therapeutic outlet. Engaging your hands, mind and creative spirit, woodworking can be a gateway to mindfulness, providing a balance from the hectic pace of modern life. Whether learning to master hand tool techniques or designing intricate patterns, woodworking as therapy serves a dual purpose. Let this insight to the therapeutic benefits of woodworking afford you another rewarding perspective to furniture restoration. Welcome these unique pieces into your home, and let nostalgia blend with the vibrancy of the present, creating timeless splendors that tell stories of eras bygone. Launch yourself into the realm of rustic modern woodworking, using green techniques to save our planet, and delve into the therapeutic benefits of this craft, one antique furniture piece at a time.Assessing a Piece Before You Start
Good restoration begins with assessment. Determine whether a piece is a valuable antique, where original finish and patina should be preserved, or a practical item suited to full refinishing. Check joints, look for veneer damage, woodworm, or rot, and decide how far to take the work. Sometimes a gentle clean and wax is all a piece needs and all it should get.
Cleaning and Repairing
Start with the gentlest approach: clean grime with a mild solution before reaching for strippers. Re-glue loose joints with hide glue for antiques or PVA for everyday pieces, clamp until cured, and patch damaged veneer or missing trim with matching species. Stabilize any woodworm or rot before cosmetic work.
Refinishing Versus Conserving
For antiques, conservation, keeping the original finish and simply reviving it, usually preserves value better than stripping. For practical furniture, full refinishing is fine: strip the old finish, sand progressively, then apply a new finish appropriate to the use. Knowing which path a piece deserves is the heart of good restoration.
Final Finishing
Match the new finish to the piece and its era. Shellac and oil suit period furniture, while durable modern finishes suit hardworking surfaces. Build the finish in thin coats, rubbing back between them, and end with wax for a soft, traditional sheen.
Frequently Asked Questions
Should I refinish an antique or leave it original?
For valuable antiques, conserving and reviving the original finish usually preserves value better than stripping. Full refinishing is best reserved for practical pieces or those already badly damaged.
What glue is best for repairing old furniture?
Hide glue is traditional and reversible, making it ideal for antiques, while PVA wood glue is fine for everyday furniture repairs. Always clamp until fully cured.
Want the complete plans and step-by-step training?
Get instant access to thousands of detailed woodworking projects.
Join The Training