DIY wood carving is a timeless craft that blends artistry and practicality. Whether you’re shaping intricate designs into spoons, whittling small animals, or crafting decorative signs, wood carving can be a rewarding and relaxing hobby.
In this comprehensive guide, we’ll walk you through everything you need to know to start your own DIY wood carving journey—from choosing the right tools and wood types to carving techniques, safety tips, and beginner-friendly project ideas.
What is Wood Carving?
Wood carving is the process of cutting and shaping wood using various tools to create artistic or functional objects. It’s one of the oldest forms of woodworking and is popular among both hobbyists and professionals. With DIY wood carving, you don’t need a large workshop or expensive machinery—just a few tools and a bit of patience.
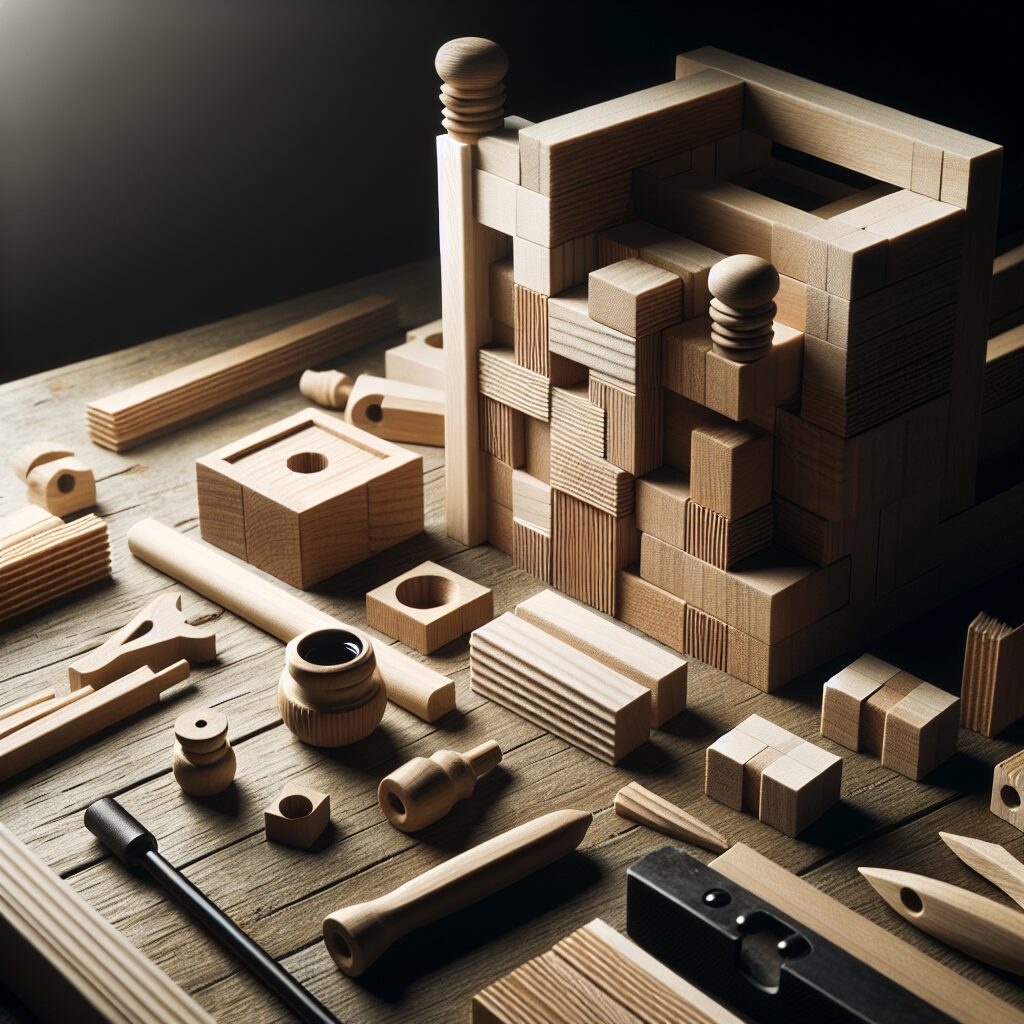
Tools You Need for DIY Wood Carving
1. Carving Knives
Essential for beginners, these versatile knives are perfect for whittling and basic carving tasks.
2. Gouges and Chisels
Gouges have curved blades and are used to scoop out wood. Chisels are flat and are great for making straight cuts or fine details.
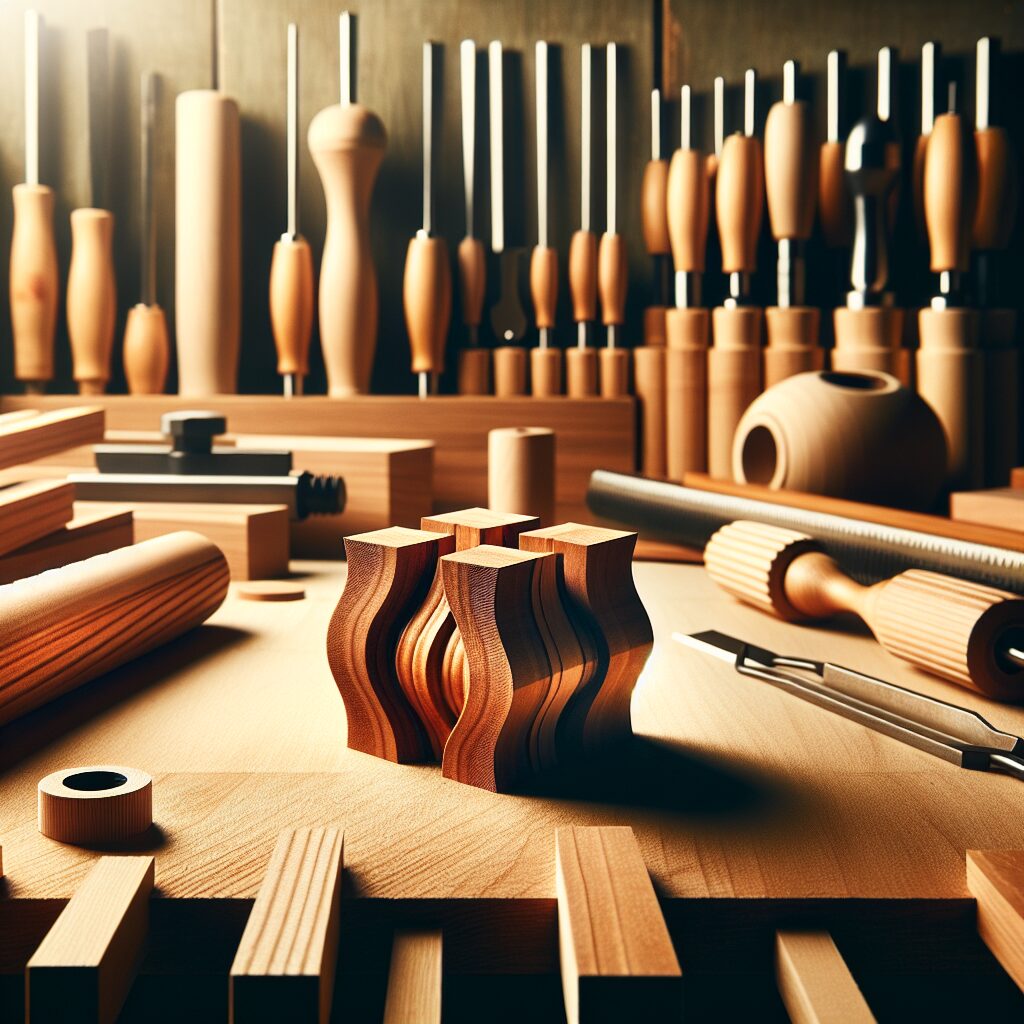
3. V-tools
Used to make narrow grooves, V-tools are ideal for detailing and texture work.
4. Mallet
While not always needed, a wooden mallet helps drive chisels into tougher wood.
5. Sharpening Stone or Strop
Sharp tools are safe tools. Regular sharpening keeps your blades effective and prevents accidents.
6. Protective Gear
Gloves and safety goggles are non-negotiable, especially when learning.
Best Wood Types for Carving
Not all wood is created equal. Here are beginner-friendly woods:
- Basswood – Soft, easy to carve, and holds detail well. Great for beginners.
- Butternut – Similar to basswood but with more pronounced grain.
- Pine – Readily available and soft, but watch for knots.
- Cedar – Aromatic and easy to carve, but may split.
🪵 Pro Tip: Start with softwoods and gradually move to hardwoods like oak or walnut as your skill improves.
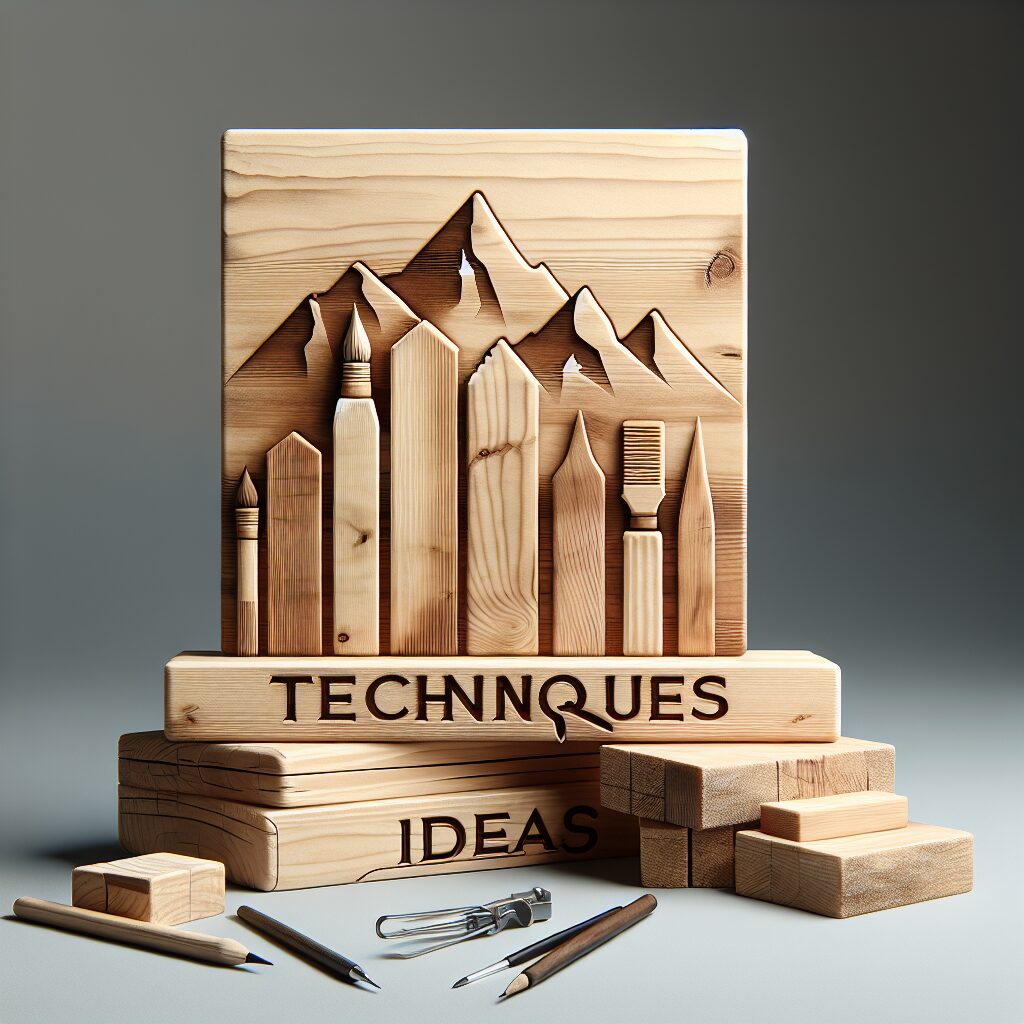
Basic Wood Carving Techniques
1. Whittling
Using just a knife to remove small shavings—ideal for beginners.
2. Relief Carving
Carving figures into a flat panel of wood, giving a 3D appearance.
3. Chip Carving
Removing small chips from the surface to create patterns.
4. Carving in the Round
Sculpting fully 3D objects like animals or figurines.
Step-by-Step: Your First DIY Wood Carving Project
Let’s walk through a simple beginner project: carving a wooden spoon.
Step 1: Choose Your Wood
Basswood is ideal. Select a block slightly larger than your desired spoon size.
Step 2: Draw Your Design
Use a pencil to outline the spoon shape on the wood.
Step 3: Rough Cut
Use a carving knife or saw to remove excess wood and create the rough shape.
Step 4: Hollow the Bowl
Use a gouge to carve out the spoon’s bowl. Carve small sections at a time.
Step 5: Shape the Handle
Whittle the handle to a comfortable shape, rounding edges for a smooth grip.
Step 6: Smooth and Finish
Sand the spoon and apply a food-safe finish like mineral oil.
🛠️ Safety Tip: Always carve away from your body and keep your tools razor-sharp to avoid slips.
Common Mistakes Beginners Make (and How to Avoid Them)
- Dull Tools – Causes slips and poor control. Keep blades sharp.
- Wrong Wood – Hard or knotty wood can frustrate beginners. Stick to softwoods.
- Skipping Safety – No gloves, no goggles? Big mistake.
- Carving Too Fast – Patience creates better results and safer experiences.
Advanced Tips to Improve Your Wood Carving
- Practice daily, even for just 10 minutes.
- Study traditional carving styles like Scandinavian or Celtic designs.
- Use reference images when carving animals or human figures.
- Keep a journal of each project—document tools used, wood type, and lessons learned.
Inspiration: DIY Wood Carving Project Ideas
Looking for what to carve next? Try these ideas:
- Personalized name signs
- Animal figurines
- Wall art in relief
- Chess pieces
- Carved candle holders
- Wooden jewelry
🎨 Creative Challenge: Try combining wood burning with your carving for unique textures and contrast!
Frequently Asked Questions (FAQ)
What’s the best age to start wood carving?
Anyone age 10+ can safely begin wood carving with supervision and proper tools.
Is wood carving expensive?
Not at all! A beginner knife, softwood, and sandpaper are enough to get started.
Do I need a workbench?
While helpful, you can carve on a sturdy table with a protective mat or board.
How do I sharpen my carving knife?
Use a leather strop and polishing compound for regular honing. For dull blades, use a sharpening stone.
Final Thoughts: Why DIY Wood Carving Is Worth It
DIY wood carving is more than just a hobby—it’s a way to relax, build focus, and create something beautiful with your hands. It offers the satisfaction of working with a natural material and seeing your skill improve with each cut.
Whether you’re a total beginner or a weekend hobbyist, now is the perfect time to pick up a piece of wood and start carving. Your creativity is just one cut away from coming to life.