
A river table goes wrong at one of three moments, and all three are decided before you mix anything. The slab keeps moving after the resin locks it. The mold weeps overnight and drains half a gallon of epoxy onto the floor. Or the pour cooks itself in the mold and comes out cloudy, wavy and cracked through the middle. Each of those has a number attached to it, and the numbers are free to look up: the moisture content of the slab, the volume of the void in cubic inches, and the depth your particular epoxy is rated to pour in one lift.
Dry and flatten the slabs first, then build a sealed mold around them and measure the void in cubic inches before you order anything. Choose a deep pour epoxy whose rated depth window brackets your river, pour in lifts that respect both ends of that window, and keep the shop below 80 degrees Fahrenheit. Demold after a full cure, flatten with a router sled, then sand up through the grits and finish.
- Wood in a heated interior settles somewhere around 6 to 11 percent moisture content, which is what 30 to 60 percent relative humidity works out to. A slab wetter than that keeps shrinking after the epoxy has stopped being able to move with it.
- Void volume is arithmetic. Length times width times depth in inches gives cubic inches; a US gallon of mixed epoxy fills 231 of them and a quart fills 57.75.
- Pour depth has a ceiling. TotalBoat rates its Fathom deep pour at 2 inches per layer for river tables and its TableTop product at 1/8 to 1/4 inch.
- Pour depth also has a floor, and this is the one the build guides leave out. MAS publishes a 2 inch minimum casting depth for Deep Pour X, so a shallow river in a deep pour resin fails for the opposite reason to the one everybody writes about.
- Both limits exist because of exotherm. Curing epoxy makes heat, a thick pour insulates that heat instead of shedding it, and a thin pour in a deep pour formula never gets warm enough to finish the reaction.
- Order more resin than the math says. The river is not the only place it goes: it creeps under the slabs, fills the perimeter gap and stays behind in the mixing bucket.
- Flattening is a separate operation from pouring, and it wants a router sled rather than a planer on anything wide.
Start With the Slab, Not the Resin
In short: the slab is the only part of the assembly that is still moving, and epoxy will not hold it still.
Cured epoxy does not shrink and swell with the seasons. Wood does. When you cast a wet slab into a rigid resin river, the wood spends the next year trying to change width against something that will not change with it, and the joint between them is where that argument gets settled. A hairline gap along the glue line, a crack running out from a knot, or a slab that cups after the table has been flat for six months are all the same failure.
The target is the moisture content the slab will live at once the table is in a room. The Wood Database puts most interior buildings at 30 to 60 percent relative humidity, which corresponds to 6 to 11 percent equilibrium moisture content. That is the band to aim for, and the same source puts the fiber saturation point at roughly 30 percent, which is where a freshly sawn slab starts from. The distance between those two numbers is why a slab that felt dry on the rack can still be a long way from ready.
A pinless moisture meter reads this in a few seconds and is the cheapest insurance on the whole project. Take readings in several places, including the thickest part and near the live edge, and take them a week apart. Two readings that agree tell you the slab has stopped moving; one reading only tells you where it was that morning. If the slab has come from a kiln it should already be in band, but a kiln-dried slab that has since sat in an unheated garage for a winter will have climbed back out of it.
Species matters here for stability rather than for looks. Walnut, elm and ash are the usual river table slabs, and our guide to the common species covers how each behaves once it is dry. This is the opposite end of the scale from green woodworking, which works wood wet on purpose and lets it move as it dries. For a river table you want the movement finished before the resin arrives.
Flatten and square the slabs before the pour, not after. A slab that is twisted going into the mold is a table that needs a lot more material taken off the top later, and every thousandth you remove after the pour comes off the epoxy as well as the wood.
The Volume Math You Do Before You Order
In short: measure the void in cubic inches, then add the three places the resin goes that are not the void.
Length times width times depth, in inches, gives the volume of the river in cubic inches. Converting to what you can buy is two numbers: a US gallon is 231 cubic inches and a quart is 57.75. A river 60 inches long, 4 inches wide at the average and 1.75 inches deep is 420 cubic inches, or a little over 1.8 gallons.
An average width is the part people get wrong. A river is a curve, not a rectangle, and the widest point is not the number you want. Measure the gap at several stations along the length and average them, or trace the void on paper and count squares. Being 20 percent out on width is being 20 percent out on the order.
Then there is everywhere else the epoxy goes, which no amount of measuring the river will find:
- Under the slabs. A live edge slab does not sit dead flat on the mold floor, and whatever gap is left fills with resin. On a large top this can be more than a gallon on its own.
- The perimeter. Any clearance between the slab edges and the mold walls fills too.
- Voids in the wood. Knots, checks and bark pockets drink resin, and they drink it quietly.
- The bucket. Mixed epoxy left clinging to the sides of the mixing container is gone.
Add a margin over the calculated figure rather than ordering to the number. Running short in the middle of a pour is not recoverable in the way running short of glue is: by the time you have driven to buy more, the first batch is past the window where the next one will bond to it invisibly, and you have a visible line through the river forever.
Seal the wood before the main pour. A thin coat of the same epoxy brushed over the mating faces and into any open grain does two jobs: it stops the dry wood pulling air into the pour as bubbles, and it stops the slab absorbing resin you paid to have in the river.
Pour Depth Has a Floor and a Ceiling
In short: the maximum is about heat, the minimum is about not enough heat, and both belong to the product rather than to epoxy in general.
Every build guide prints a maximum pour depth. They disagree with each other, because the number belongs to a specific resin and not to the material. TotalBoat's own figures put Fathom at up to 2 inches per layer for river tables and slab pours, its TableTop epoxy at 1/8 to 1/4 inch, and ThickSet at 1/2 inch for river pours. Those are three products from one manufacturer spanning a factor of sixteen. A number you carried over from a different article is a number about somebody else's resin.
The reason for the ceiling is exotherm. Curing epoxy is a chemical reaction that gives off heat, and a thick pour has more reacting mass per unit of surface area, so the heat stays in instead of escaping. Past a point the heat speeds the reaction, which makes more heat. TotalBoat describes the outcome plainly as bubbles, cracking, yellowing, shrinkage, surface waves and swirls, and there is no repair for any of it short of cutting the river out. MAS prints the warning on the product page: mixed epoxy generates heat, and the more you mix the hotter it gets.
The floor is the half nobody writes about, and it catches people going the other way. MAS lists a minimum casting depth of 2 inches for Deep Pour X and says to pour it 2 to 3 inches thick, and TotalBoat requires Fathom layers to be at least 1 inch deep. A deep pour formula is slowed down on purpose so the heat has time to leave; spread thin, it never reaches the temperature it needs and you get a soft, tacky, or permanently cloudy cure. So a 3/4 inch river is not a small version of a 2 inch river. It is a different product.
The practical rule: find the depth of your river first, then buy the resin whose published window brackets it. A vein of 1/4 inch or less is table top epoxy territory. Anything from about an inch to three inches is deep pour. In between, read the two data sheets and pick the one whose range you land inside rather than at the edge of.
Temperature is the third term in the same equation. MAS asks for a constant 60 to 80 degrees Fahrenheit and says outright not to use the product above 85; TotalBoat asks for a work area below 80. A shop that drifts to 90 in the afternoon has moved your safe pour depth down without telling you.
A Mold That Does Not Leak
In short: epoxy finds every seam a glue-up would forgive, and it has hours to do it in.
The mold is a shallow box the slabs sit inside. Melamine-faced particleboard is the common choice because epoxy has trouble sticking to melamine, and 3/4 inch stock is the usual thickness for the floor and walls. Sheathing tape over every interior surface is the belt to that suspenders, and it is what most of the build guides use on plain MDF.
Build the walls taller than the finished pour by a comfortable margin. You want room to work, and you want somewhere for the resin to go if you misjudge the volume upward rather than onto the floor.
Seal the inside corners with a bead of silicone caulk and tool it smooth. Silicone releases from cured epoxy and it fills the one gap screws cannot close. Drive all fasteners from the outside so no screw head sits inside the casting, and check the whole assembly is sitting dead flat and dead level before anything gets mixed. A mold that is out of level by an eighth of an inch across its length pours a river that is deeper at one end than the other, which is a cosmetic problem at best and an exotherm problem at worst.
Weight or clamp the slabs down. Wood floats in epoxy, and a slab that lifts a sixteenth of an inch during the pour takes the resin underneath it with it. Cleats screwed across the top of the mold walls, bearing on the slab faces, hold everything where you put it.
Test the mold with water before you trust it with resin. Water is thinner than mixed epoxy, so anything that holds water overnight will hold a pour, and the test costs nothing but a dry-out.
The Pour
In short: mix slowly, pour slowly, and let each lift reach the right state before the next one goes on.
Mix by the ratio on the container and by nothing else. Deep pour products are commonly 2 parts resin to 1 part hardener by volume, but ratios vary and some are specified by weight. Getting this wrong does not produce weak epoxy, it produces epoxy that never cures. Scrape the sides and the bottom of the mixing container as you go, then transfer to a second container and mix again; unmixed resin clinging to the first bucket is the most common cause of a soft patch.
Stir slowly. A fast stir folds air into the mix, and air in a two inch pour has a long way to travel. Pour slowly too, down the side of the void or off a stir stick rather than splashing it in.
For bubbles at the surface, a heat gun or a propane torch passed quickly across the top breaks the surface tension and releases them. Keep moving: the guides that give a figure say around six inches away and no more than a second over any one spot. Held still, a heat gun will scorch the resin and add heat to a pour that is already making its own.
If the river is deeper than the product's maximum lift, pour in layers and respect the window between them. Too soon and you have added mass to a pour that is still generating heat, which is the exotherm problem again. Too late and the previous layer has cured hard enough that the new one bonds mechanically rather than chemically, and the line may show. The data sheet gives a window; use it rather than a number from another article.
Epoxy vapor and sanding dust from cured epoxy are both worth taking seriously, and a dust mask is the wrong tool for the first of them. Our guide to respirators for the shop covers which cartridge class handles organic vapor and why a particulate filter on its own does not.
Then leave it alone. Published full cure times for deep pour products cluster around 36 to 72 hours, and demolding early is how a table picks up a permanent print of the mold floor. Some builders wait considerably longer before doing any machining, on the grounds that epoxy keeps hardening well past the point where it feels hard.
Flattening and Finishing What Comes Out
In short: a router sled, then a long grit ladder with nothing skipped.
What leaves the mold is flat on the bottom and not on the top. Flattening it is a milling operation, and on anything wider than about a foot the tool is a router sled: a router riding a carriage on two rails, taking shallow passes across the whole surface. The machinery guide covers the alternatives and their limits.
A thickness planer is the fast option and it has two problems on a river table. The first is width, since most home shop planers stop at 13 inches. The second is that cured epoxy is hard on knives and can chip out rather than shear. If you do plane, take the lightest passes the machine will manage and expect to resharpen. Slabs are also prime candidates for snipe at both ends, and a snipe on a finished top is not something you sand out.
Then sand, and do not skip grits. The published sequences from the build guides run 100, 120, 150, 180, 240, 320 for the combined wood and epoxy surface, with wet sanding from 400 up to 3000 if you want the resin to come back to full clarity. Epoxy shows every scratch the previous grit left, so a skipped step means going back rather than pushing on. Wipe the surface with denatured alcohol between grits; it flashes off and shows you the scratch pattern you are about to seal in.
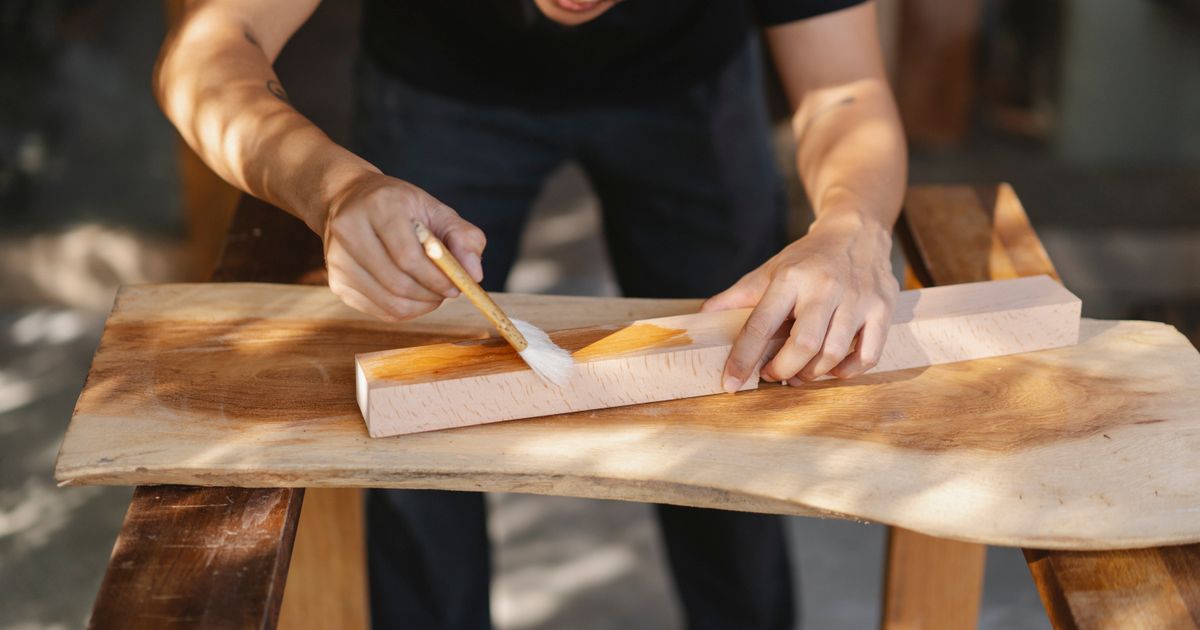
For a finish, hardwax oils are the common choice on river tables because they go onto wood and cured epoxy alike and repair without a witness line. A film finish over the top is also workable. Whatever you use, test it on an offcut that has both materials on it, because a finish that looks right on walnut can cloud on resin.
What We Can and Cannot Tell You About Products
In short: every number on this page comes from a manufacturer, because we have not poured a table.
We have not built a river table and we have not tested any of these resins. Every depth, ratio, temperature and cure time above is quoted from the manufacturer's own published specification and linked at the point it appears, so the source is one click away and does not have to be taken on trust.
That is also the honest way to choose between products yourself. Ignore the marketing copy and read four figures off the data sheet: the maximum pour depth per lift, the minimum pour depth, the working temperature range, and the recoat window. Those four decide whether a resin can build your table. Clarity, color stability and price decide which of the ones that can, you buy.
Epoxy work also sits alongside a long tradition of putting one material inside another, and the layout instincts transfer even though the materials do not. Our pieces on boat building, where epoxy has been structural for decades, and on marquetry and inlay are both worth a read before you draw the river.
Epoxy River Table FAQ
How much epoxy do I need for a river table?
Multiply the river's length by its average width by its depth, in inches, to get cubic inches. A US gallon of mixed epoxy fills 231 cubic inches and a quart fills 57.75. Then add margin for the resin that runs under the slabs, fills the perimeter gap, soaks into knots and stays in the mixing bucket, which together can add more than a gallon on a large top.
How deep can I pour epoxy at one time?
It depends on the product, not on epoxy in general. TotalBoat rates Fathom at up to 2 inches per layer for river tables, its TableTop epoxy at 1/8 to 1/4 inch, and ThickSet at 1/2 inch for river pours. Read the figure off the data sheet for the resin you bought rather than carrying a number over from another project.
Is there a minimum pour depth as well as a maximum?
Yes, and it is the limit most build guides leave out. MAS publishes a 2 inch minimum casting depth for Deep Pour X, and TotalBoat requires Fathom layers to be at least 1 inch deep. Deep pour formulas are slowed down so heat can escape, so poured thin they may never reach the temperature the reaction needs and can cure soft or cloudy.
Do I have to use deep pour epoxy?
Only if the river is deeper than a table top epoxy can handle, which is around 1/4 inch. A shallow inlay vein pours fine in a table top product. A river of an inch or more needs a deep pour formula, because a table top epoxy poured that thick will overheat in the mold.
How dry does the slab need to be?
Aim for the moisture content the slab will settle at indoors. The Wood Database puts most interior buildings at 30 to 60 percent relative humidity, which corresponds to 6 to 11 percent equilibrium moisture content. Take readings a week apart with a moisture meter; two that agree tell you the slab has stopped moving.
Can I run a river table through a thickness planer?
You can, with light passes, but most home shop planers stop at 13 inches and cured epoxy is hard on knives and prone to chipping. A router sled flattens any width, takes the epoxy and the wood at the same rate, and avoids snipe at the ends of the slab.
Why did my river table crack in the middle of the pour?
Almost always exotherm. Curing epoxy generates heat, a pour deeper than the product's rating holds that heat in instead of shedding it, and the reaction accelerates itself. The published symptoms are cracking, yellowing, shrinkage, surface waves and swirls. A hot shop makes it worse: MAS asks for a constant 60 to 80 degrees Fahrenheit and says not to use the product above 85.
Want the complete plans and step-by-step training?
Get instant access to thousands of detailed woodworking projects.
Join The Training