
Free woodworking plans are downloadable project documents that give you a materials list, a cut list of every part with its finished dimensions, and step by step assembly instructions. A plan with a cut list is buildable. A plan with only a photo and a parts count is not, because you cannot buy lumber from it.
In short: six beginner-level plans, each buildable in an afternoon with a saw, a drill and clamps. Pick one and go. Each card links to the full build guide.
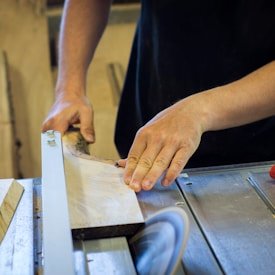
The whole thing comes out of a single 1x6. A good first project because every cut is square and a mistake costs you one short piece, not the build.
Teaches you the cleat, which is the trick behind half the wall-mounted furniture you will ever build. Full walkthrough in how to build a floating shelf.

Build this second or third and every project after it gets easier. Step by step in building a portable workbench.
Uses scrap. Sanding matters more than cutting here. More patterns in wooden toy making.

Your introduction to the 45 degree cut, and to the fact that four of them rarely close perfectly the first time. Technique in wooden picture frames.
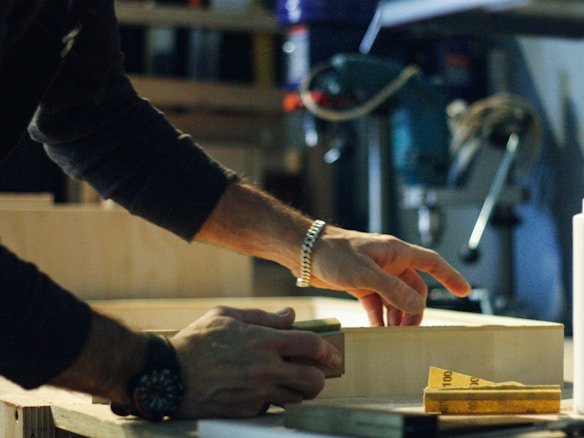
The first thing you will build that has to hold a person, so it is the first time joint strength is not theoretical.
Building a shelf unit next? How to build a bookshelf picks up where the floating shelf leaves off.
One printable 24-page PDF with every materials list, cut list and assembly sequence.
Prefer not to share your email? Download the PDF directly. 24 pages, no signup.
In short: materials list, cut list, numbered assembly steps and tips, in one printable 24-page PDF.
Most free plan libraries give you a photograph and a paragraph. These give you the document you actually need at the lumber yard and at the saw.
| Section | What it gives you |
|---|---|
| Materials list | Board sizes to buy, in the sizes lumber is actually sold in |
| Cut list | Every part, quantity, and finished dimension |
| Assembly steps | Twelve numbered steps, with the clamping sequence called out |
| Tips | Four per project, including the mistake that most often ruins it |
The pack opens with three pages you should not skip: a shop safety page, a starter tool kit table listing what each tool is for and roughly what it costs, and a page on reading a plan. All six projects then follow in one 24-page PDF.
The cut list is the part that matters. It is the table that tells you to cut two sides at 9-1/4 inches and one base at 5-1/2 inches. Without it you are reverse engineering dimensions off a drawing, which is how beginners end up one board short.
In short: a 2x4 measures 1-1/2 by 3-1/2 inches. Plans use actual sizes; lumber is sold by nominal size.
This is the single most common reason a first build does not fit together, and none of the big plan libraries warn you about it on the page.
Softwood lumber is sold under a nominal size, which is roughly the rough-sawn dimension before it was dried and planed smooth. The actual size you take home is smaller. The convention is set by the US Department of Commerce voluntary product standard for softwood lumber, PS 20.
| You buy | You actually get |
|---|---|
| 1x4 | 3/4 x 3-1/2 in |
| 1x6 | 3/4 x 5-1/2 in |
| 1x8 | 3/4 x 7-1/4 in |
| 2x4 | 1-1/2 x 3-1/2 in |
| 2x6 | 1-1/2 x 5-1/2 in |
Our cut lists give actual finished dimensions. The materials list gives nominal sizes, because that is what the yard will sell you. When the two look inconsistent, that is why.
The second thing to check before cutting is moisture. Wood changes dimension across the grain as it takes on and gives off moisture, and a board that has been sitting in a damp garage will move after you build with it. The USDA Forest Products Laboratory's Wood Handbook is the standard reference on how much and in which direction. For these six projects it matters most on the workbench top and the step stool, where a wide glued panel is involved.
Practical version: buy the wood, bring it inside, leave it a few days in the room where the finished piece will live, then cut.
In short: birdhouse or picture frame if it is your first ever build; workbench once you have two under your belt.
| If this is you | Build | Because |
|---|---|---|
| Never used a saw | Beginner birdhouse | Every cut is square, one board, cheap to redo |
| Want something for the house | Floating shelf | Visible result, teaches the cleat |
| Building with a child | Wooden toy car | Offcuts, mostly sanding, no fine tolerances |
| Ready for a real skill | Picture frame | Miters, the first cut that has to be accurate |
| Want to build better afterwards | Portable workbench | Every later project gets easier |
| Need it to hold weight | Step stool | First time joint strength is load bearing |
New to all of it? Woodworking for beginners covers the groundwork these plans assume.
In short: a saw, a drill, clamps, a square and sandpaper will build all six. Nothing here needs a table saw.
| Tool | Used for | Cheapest workable option |
|---|---|---|
| Saw | Every project | Hand saw and a miter box |
| Drill/driver | Every project | Corded drill |
| Clamps | Glue-ups, at least two | F-clamps |
| Combination square | Marking, checking square | Any 12 in square |
| Tape measure | All measuring | Any |
| Sandpaper | 120 and 220 grit | Sheets and a sanding block |
| Safety glasses | Every cut | Any ANSI rated pair |
Short on space or budget, which most people starting out are? See essential woodworking tools for small spaces and budget.
On dust: sanding and sawing produce fine wood dust, and OSHA classifies certain hardwood dusts as linked to nasal cancer in woodworkers, listing oak, mahogany, beech, walnut, birch, elm and ash (OSHA woodworking eTool). For six small pine projects the exposure is low, but sand outdoors or wear a mask.
In short: print at 100 percent scale, not “fit to page”, or every dimension shifts.
The plans are also readable on a phone, but a printed cut list you can mark up beats a screen that locks itself every thirty seconds while your hands are covered in sawdust.
Or download the PDF directly. No email required.
In short: ten terms that appear in every plan and confuse everyone at first.
Every plan is written for someone picking up tools for the first time, with clear steps and minimal specialized equipment.
Take them to the shop, mark them up, and build at your own pace. Cut lists and material lists are included.
No catch and no gimmicks. Enter your email to get the plans and join our community of woodworking enthusiasts for more tips, or download the PDF directly if you would rather not sign up.
Yes, and you do not have to give us an email to get them. The direct download link on this page gives you all six plans with no signup. You can enter your email instead if you want us to tell you when new plans are added, but that is an option, not a toll gate.
Every one. That is the main thing separating a buildable plan from a photo with a parts count. The cut list gives quantity and finished dimension for each part.
Beginner. The hardest joint in the set is a mitered corner on the picture frame. Everything else is butt joints, screws and glue, so no joinery experience is needed.
A saw, a drill, two clamps, a square, a tape measure and sandpaper. None of the six requires a table saw, router or any stationary machine.
Yes. The pack is one printable 24-page PDF. Print at 100 percent scale rather than “fit to page”, because scaling changes any printed template dimensions.
An afternoon each for the birdhouse, shelf, toy car, frame and stool. The portable workbench is a weekend, mostly because of glue-up and drying time between stages.
Pine or poplar. Both are cheap, widely stocked, soft enough to cut with hand tools and forgiving of mistakes. Save hardwood for after your third or fourth project.
Because lumber is sold at nominal size and delivered at actual size. A 2x4 measures 1-1/2 by 3-1/2 inches. See the sizing table above.
Yes, sell the furniture. Do not redistribute the plan files themselves.
Ana White has the largest free furniture library online and is worth knowing about. Ours is deliberately small and beginner-focused, with the cut list included.
Get your free woodworking plans now and join thousands of makers learning together.